PROTOTYPING
Starting the prototyping stage a lot of small details needed attention and a fair amount of testing.
-
![]()
3D STRUKTURES AND MATERIAL
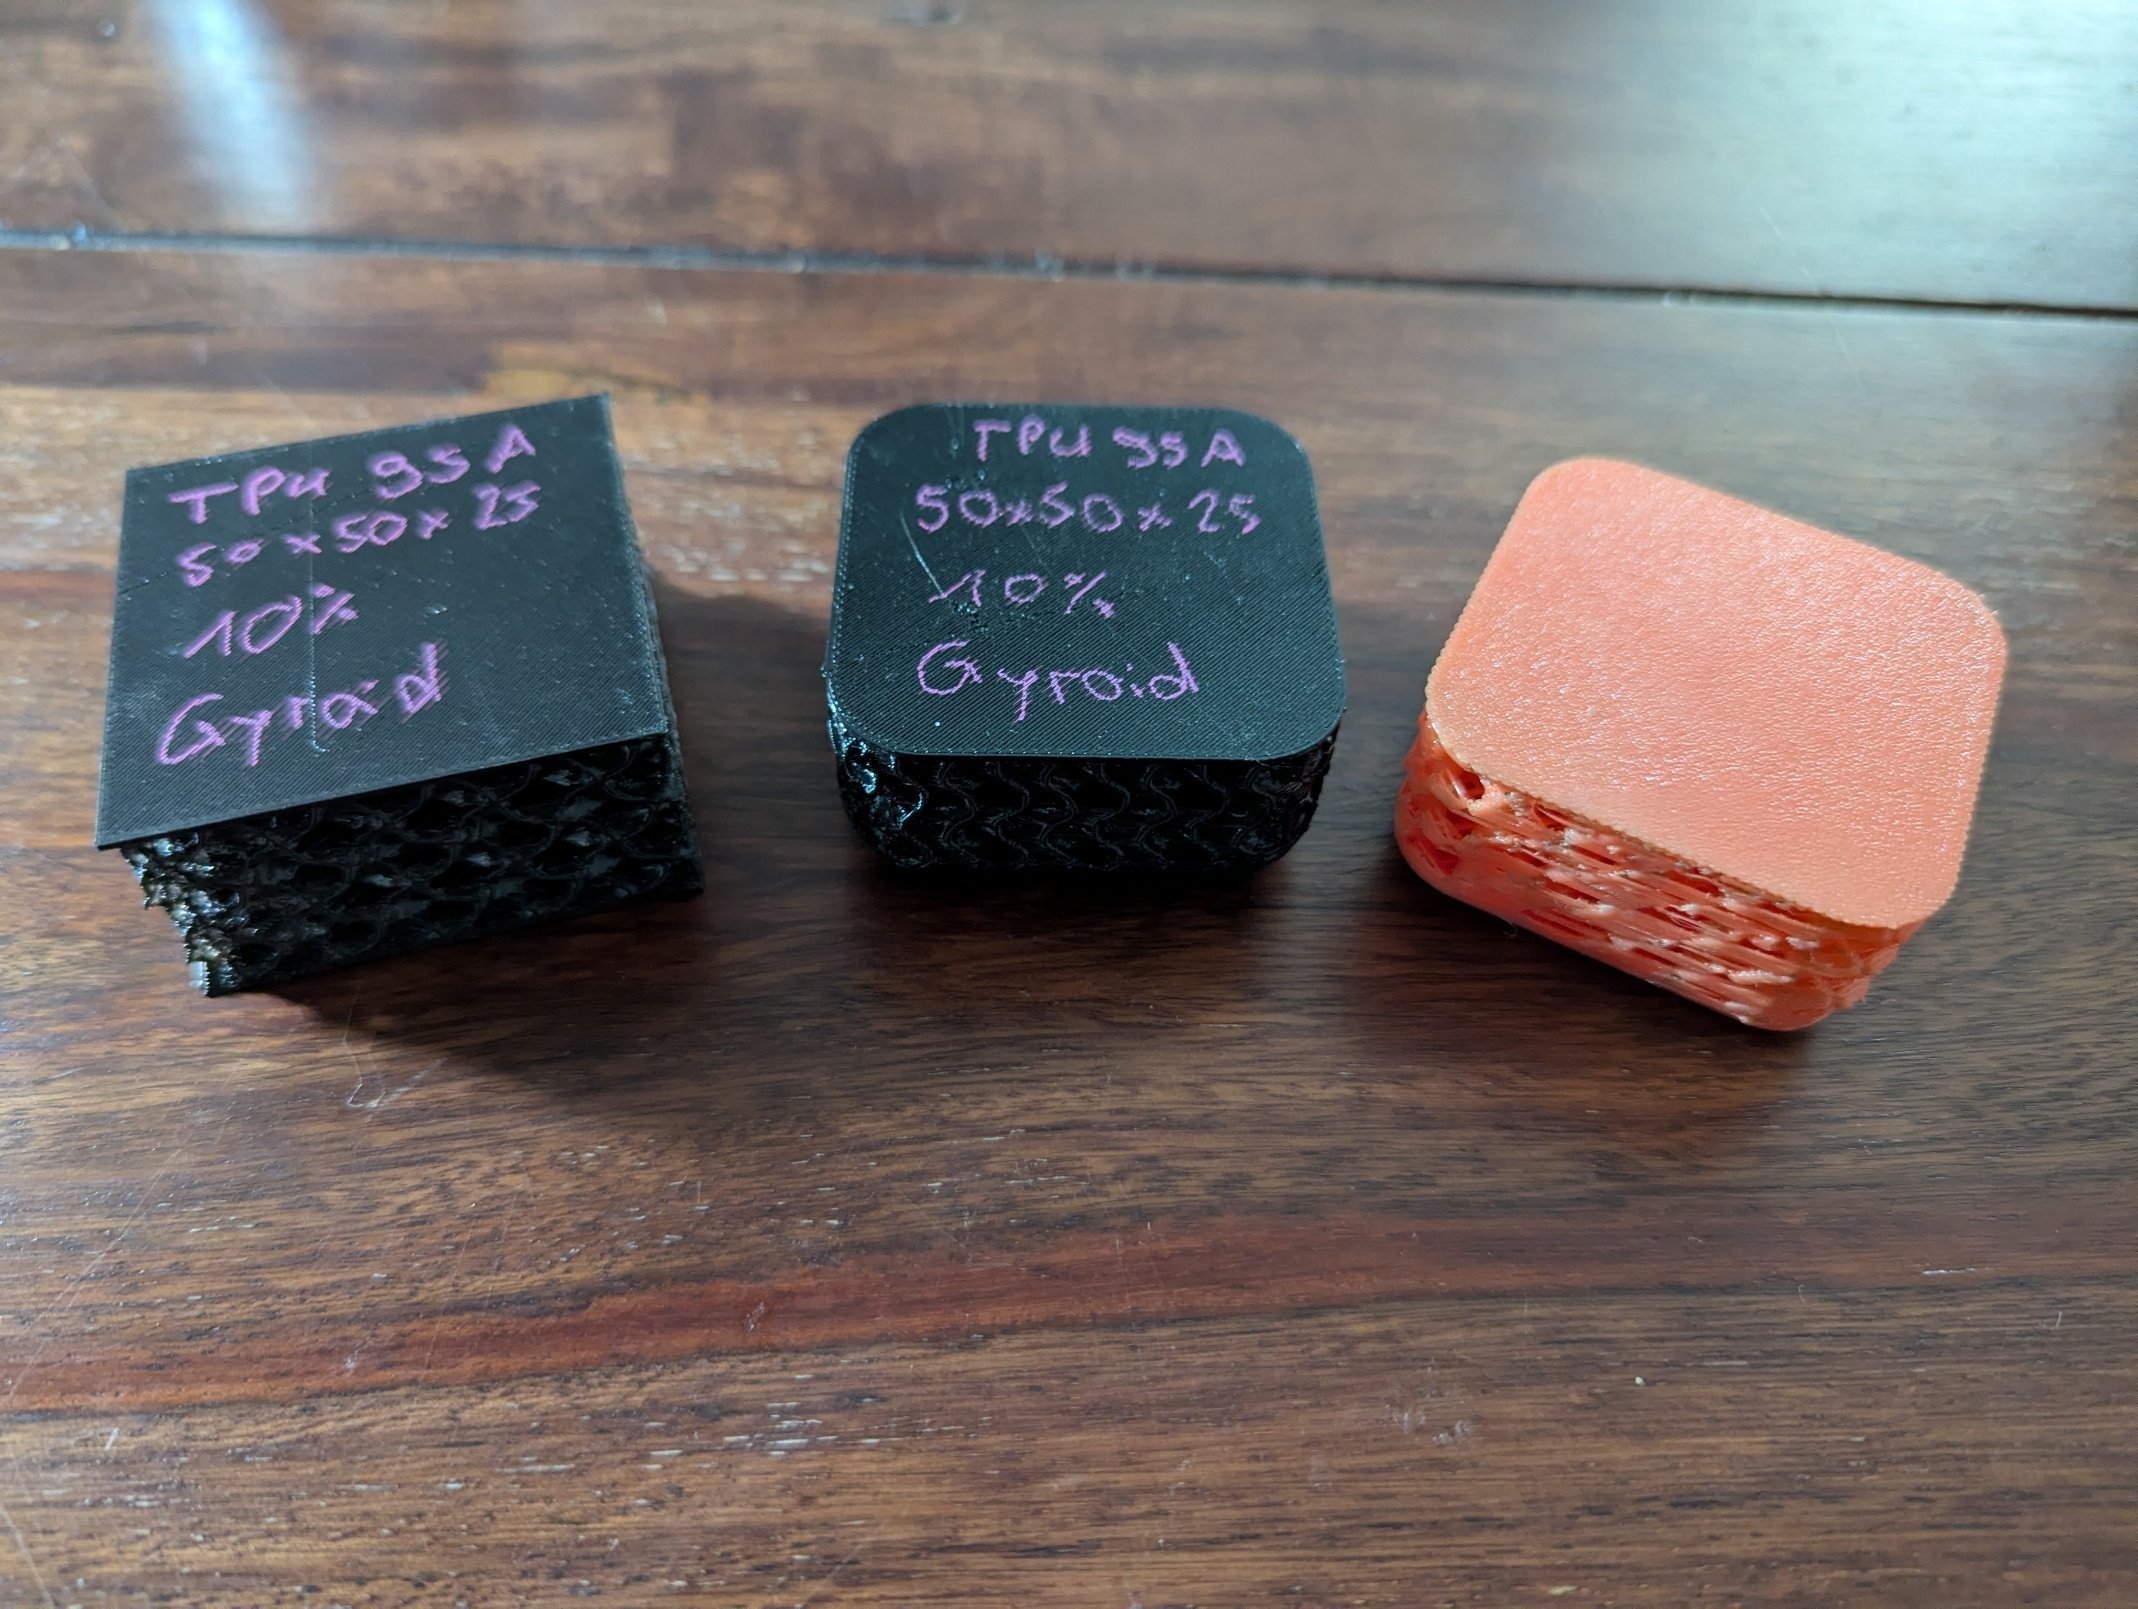
SMALL SCALE TESTS
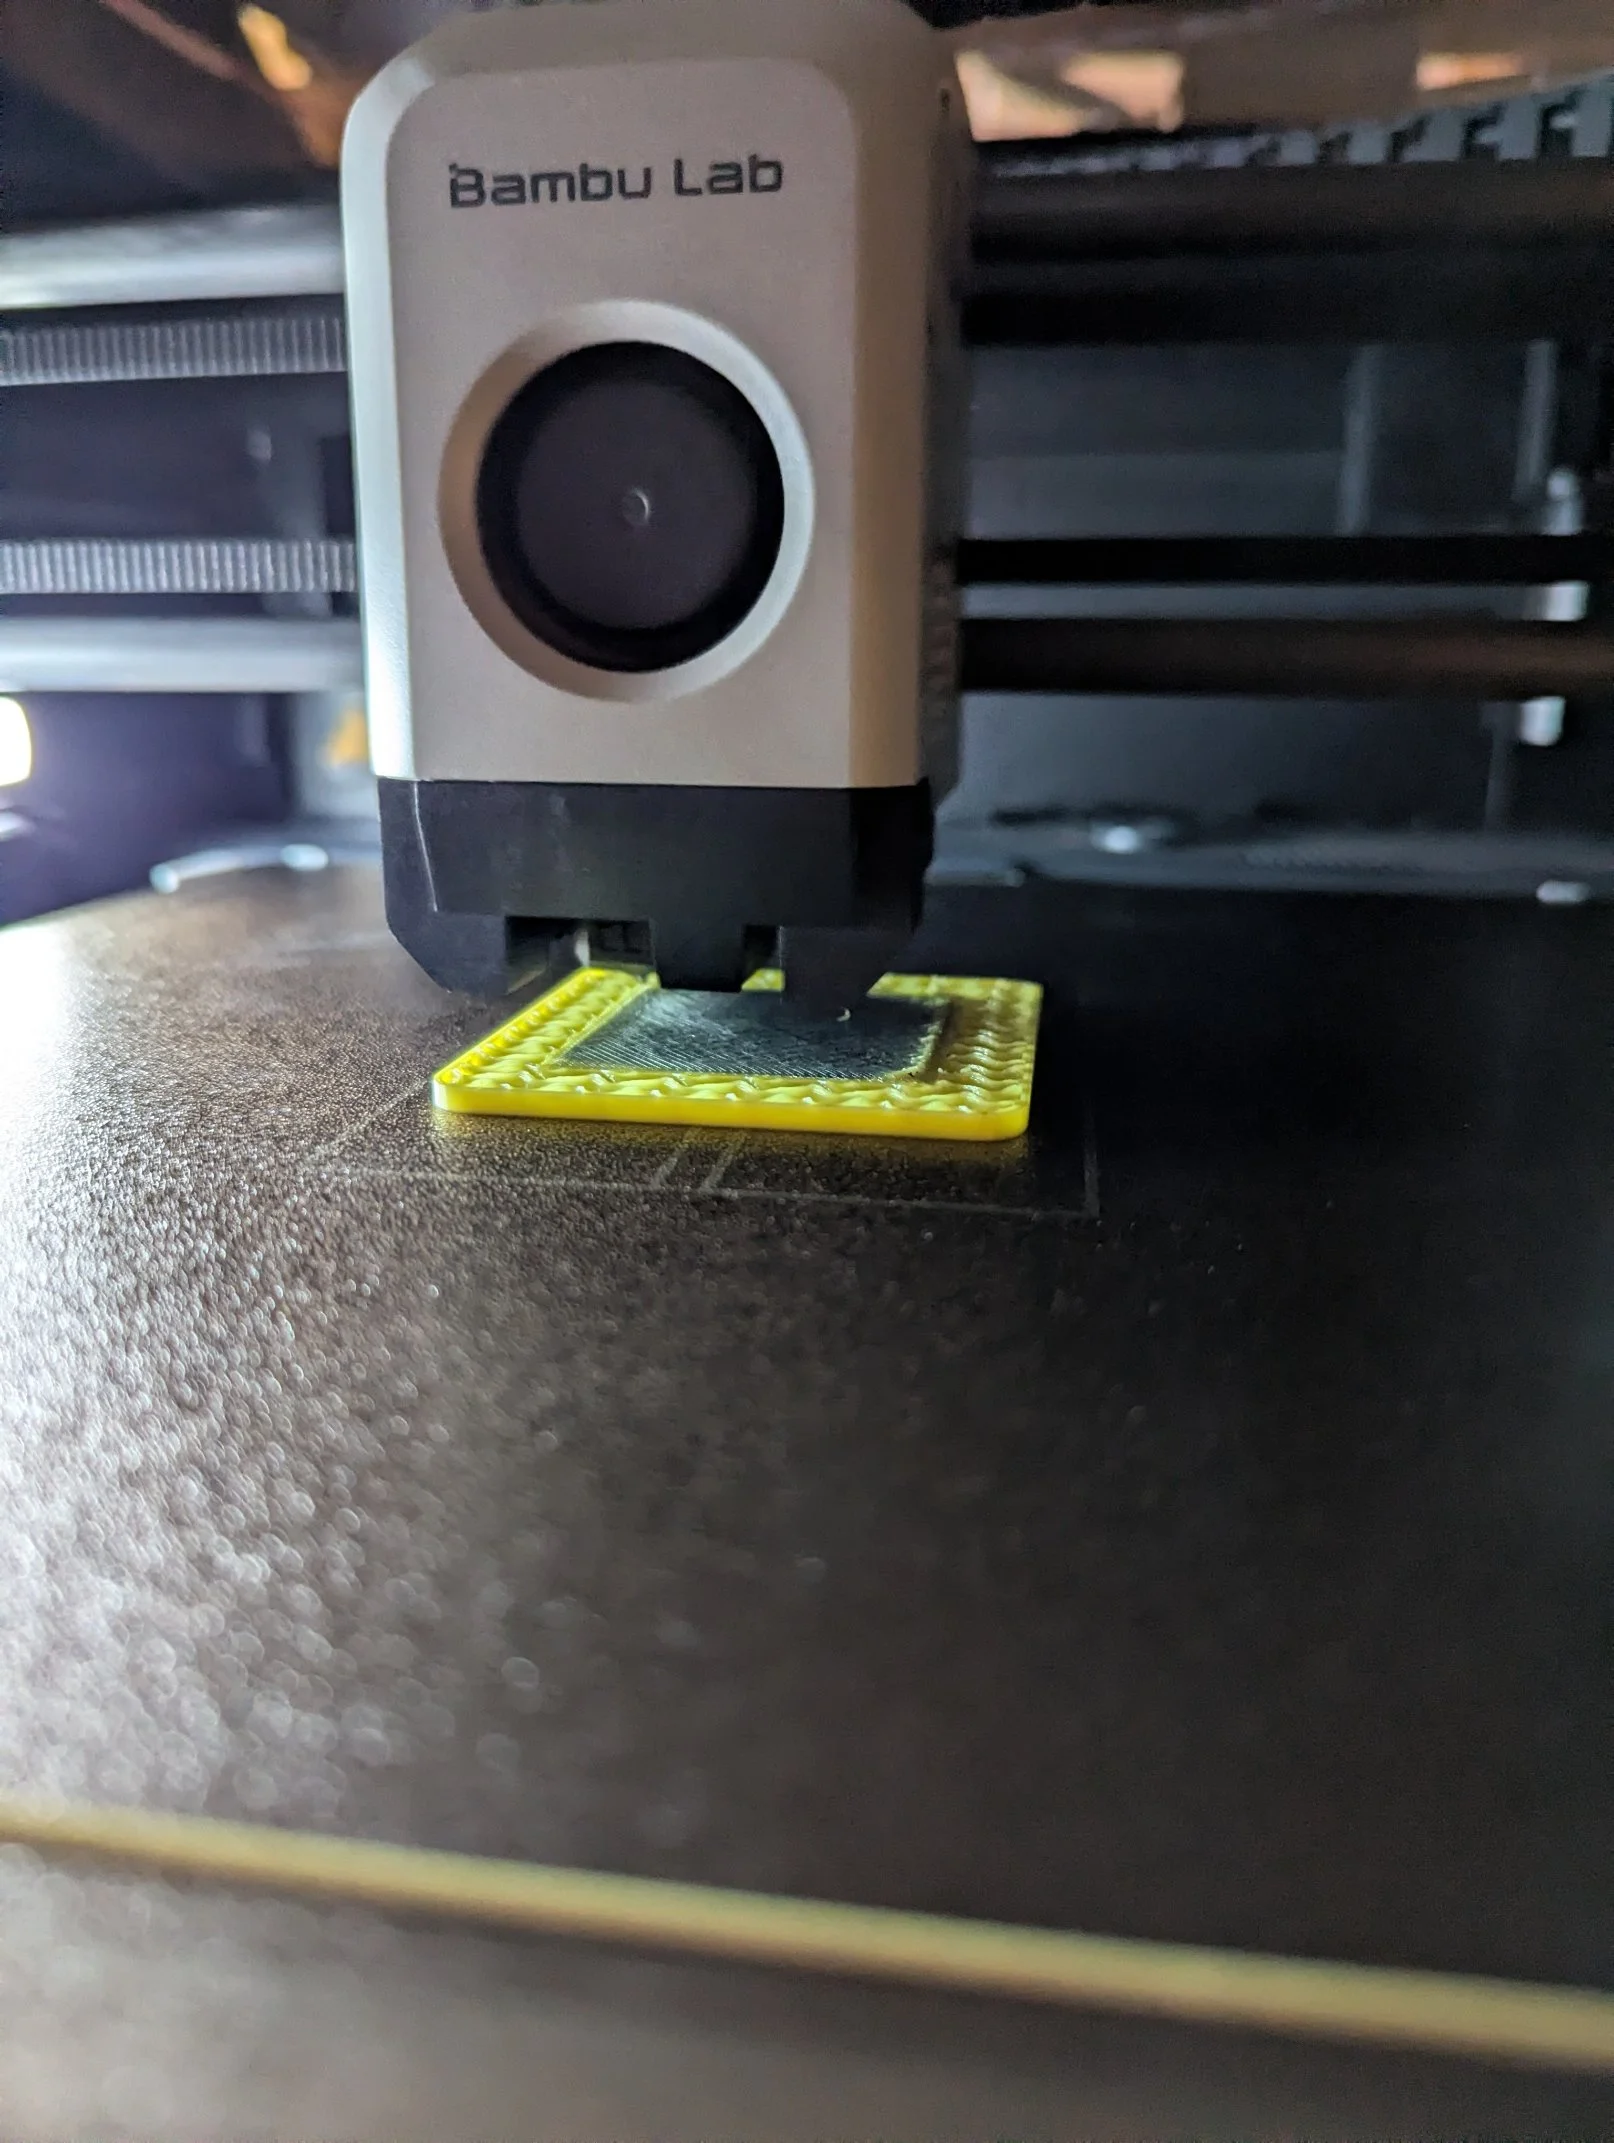
At the very beginning I started with testing different structures to give the padding a homogenous hardness. In parallel I tried different types of TPU. Turns out some change the shore hardness depending on subtle changes of temperature and other invironmental impacts. I figured out that a TPU in the range of 80 shore A provides a great starting point. -
![]()
PADDING SHAPE
PROTOTYPING
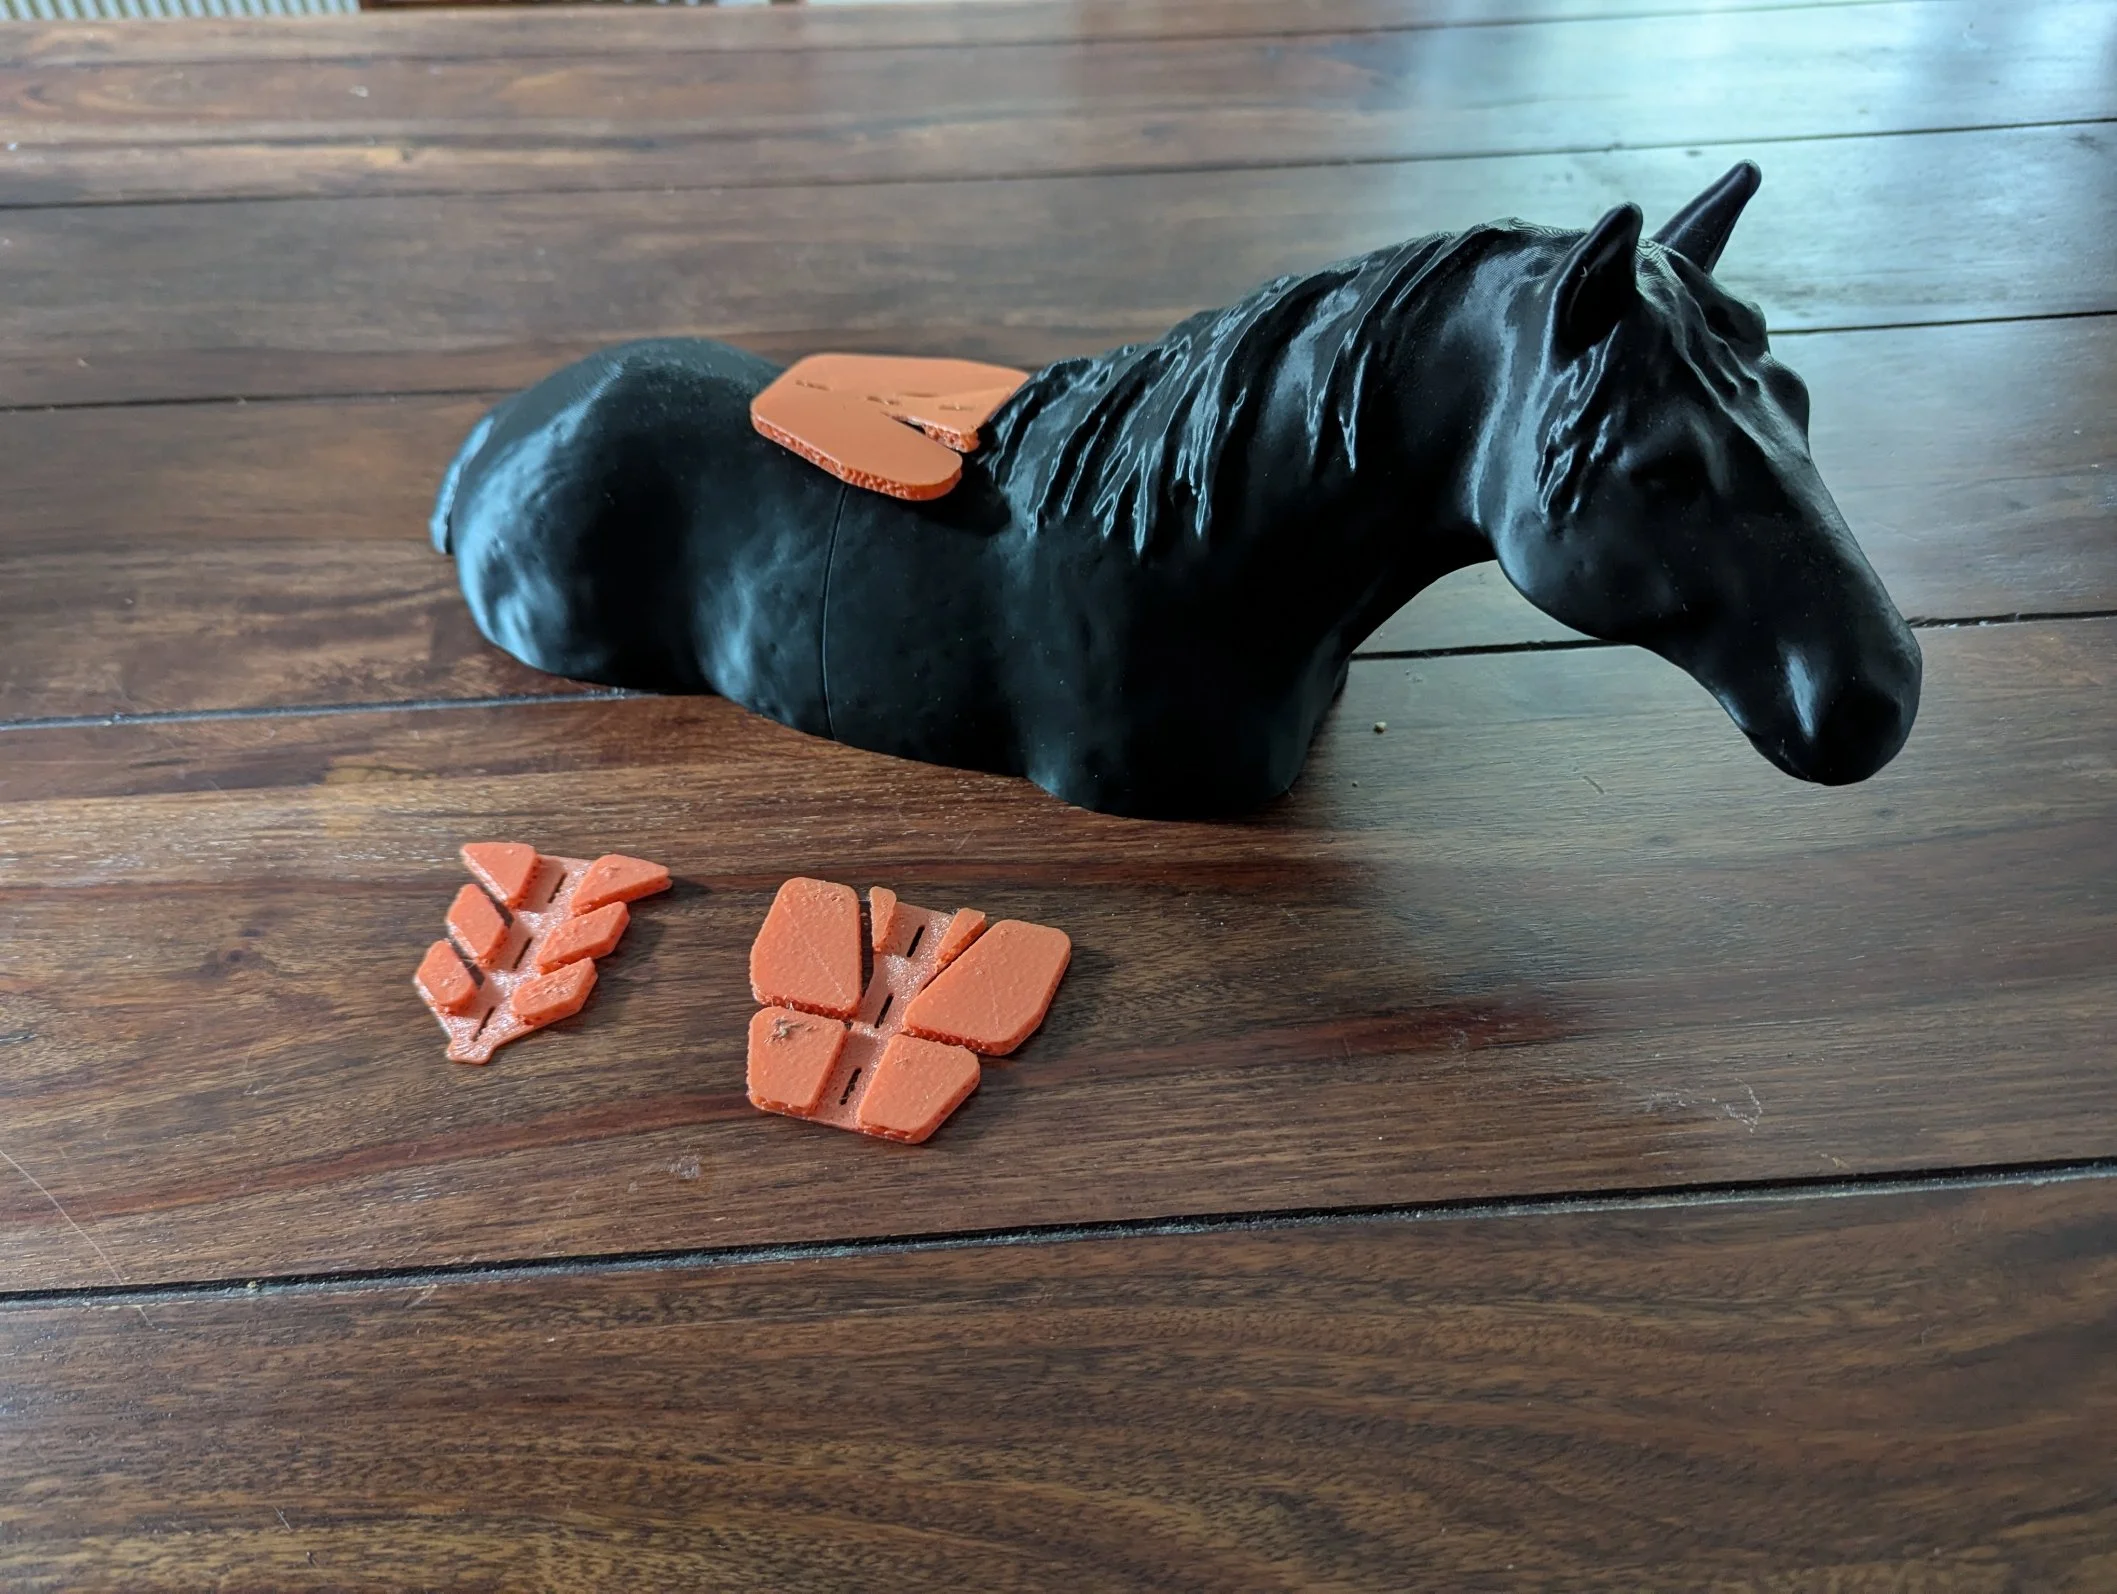
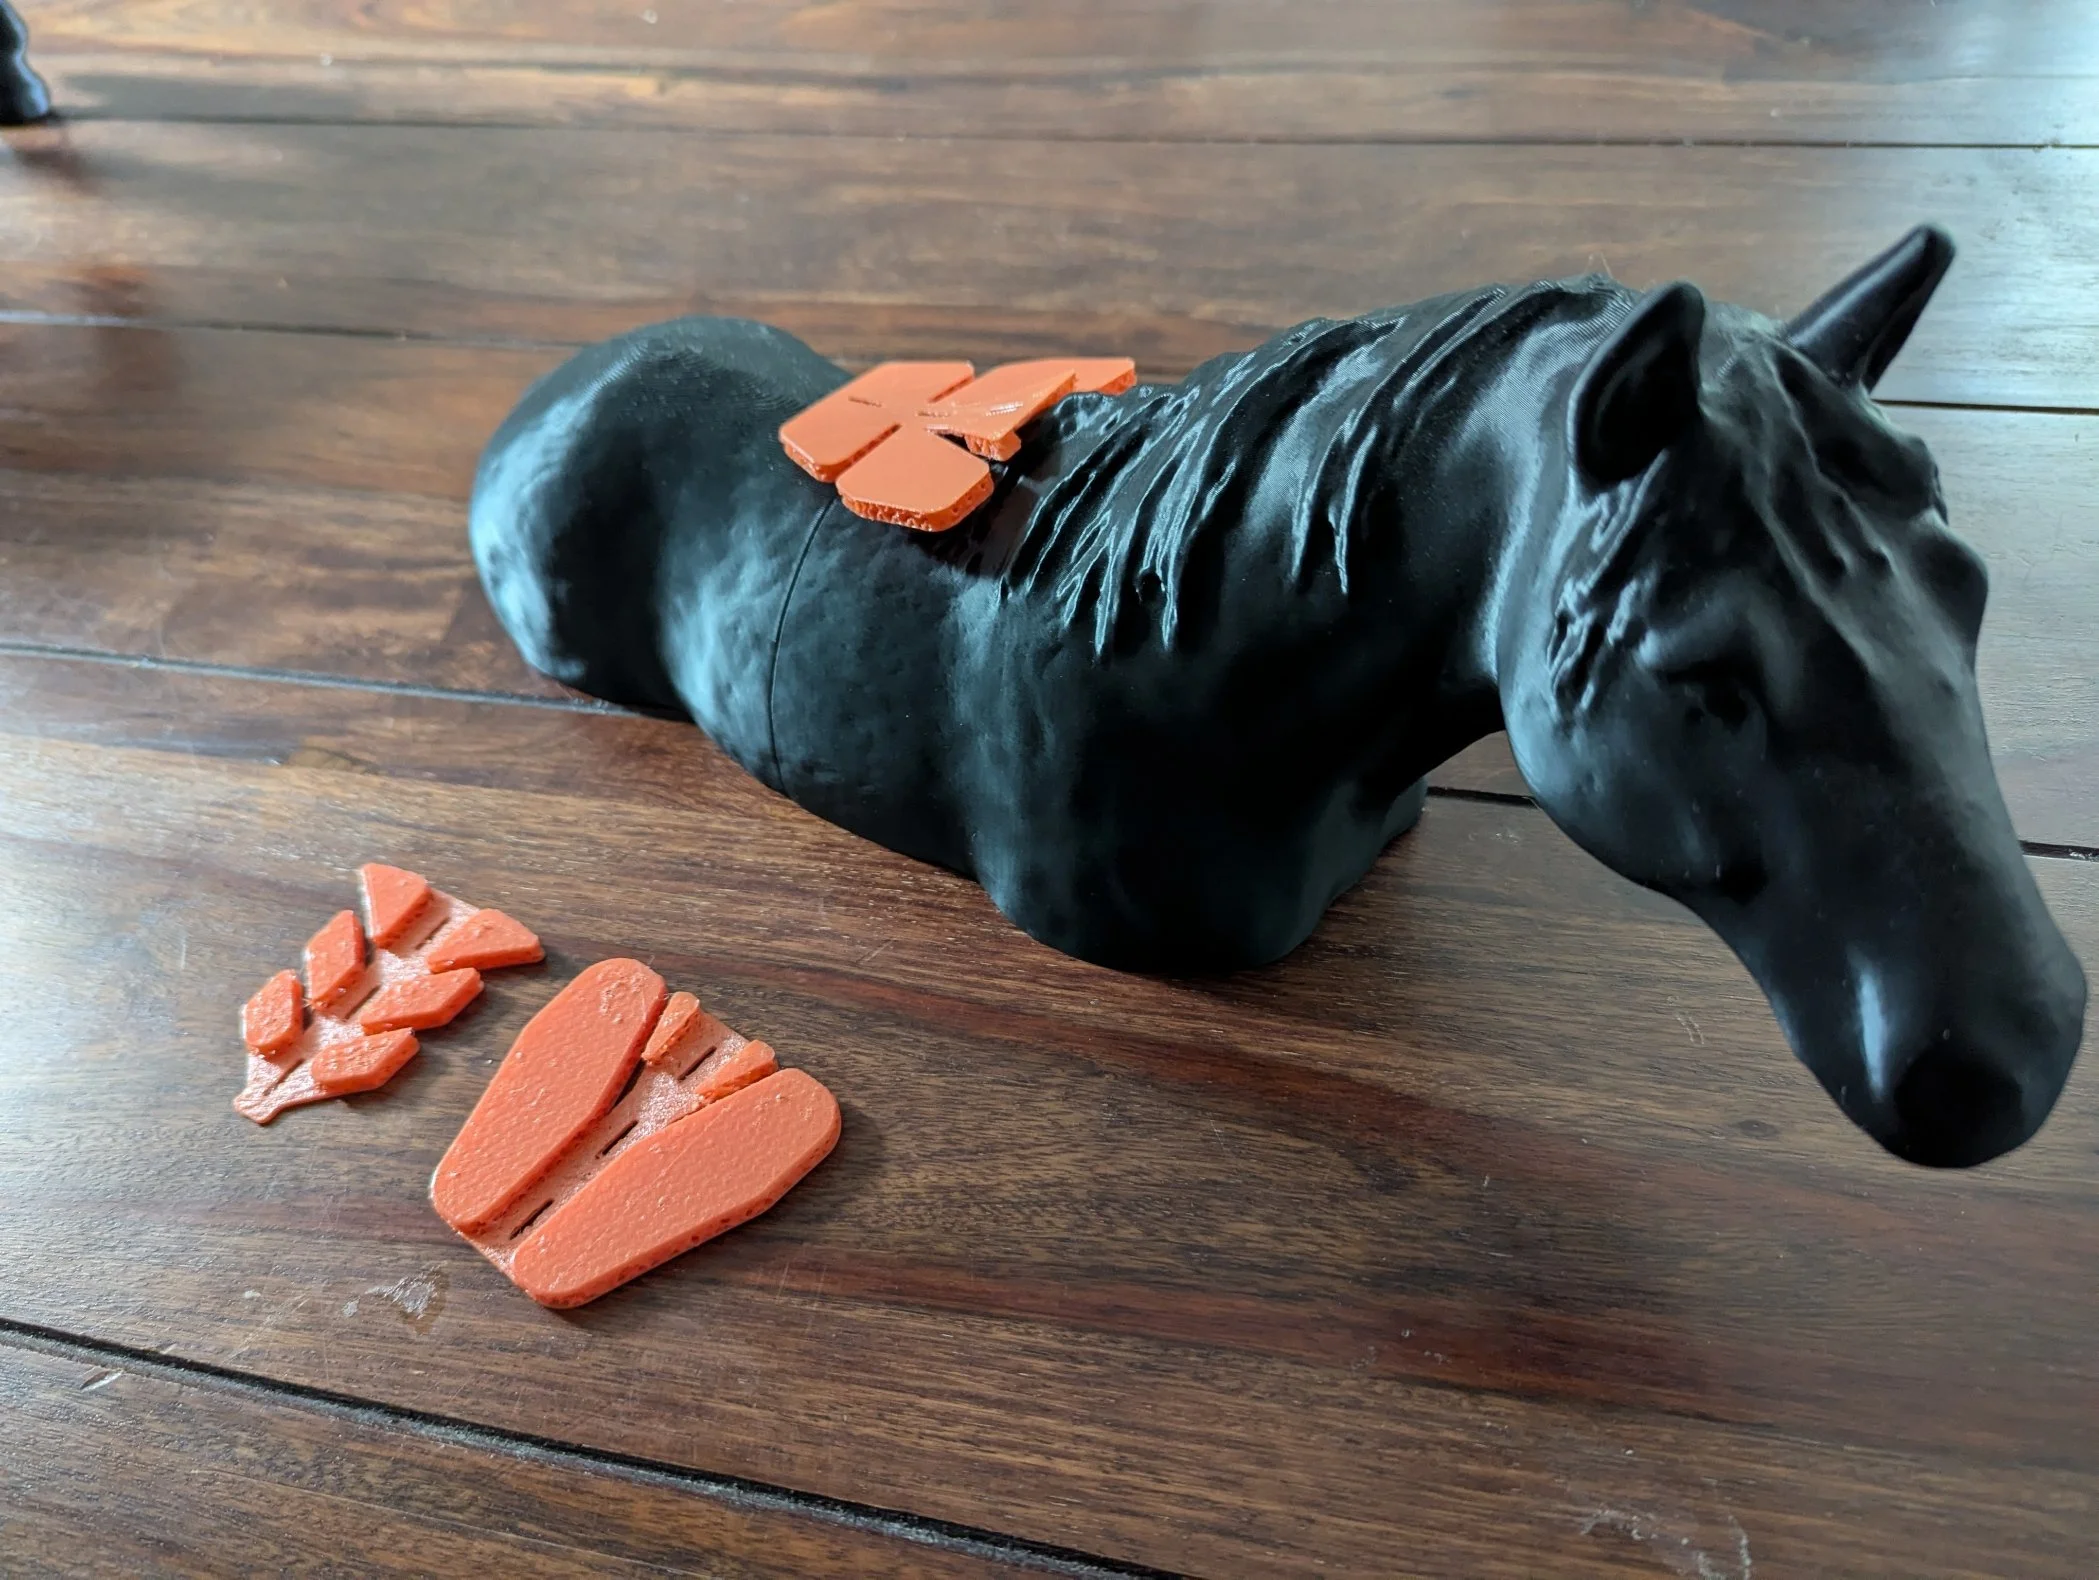
As a standard 3D printer has a very limited build volume, it was necessary to divide the padding into logical sections. Much like the back panel of a rucksack, I experimented with various compartmentalisation options to ensure the padding moulded perfectly to the back and thus provided the most even distribution of force to the muscles. -
![]()
MOUNTING OPTIONS
IMBEDDING
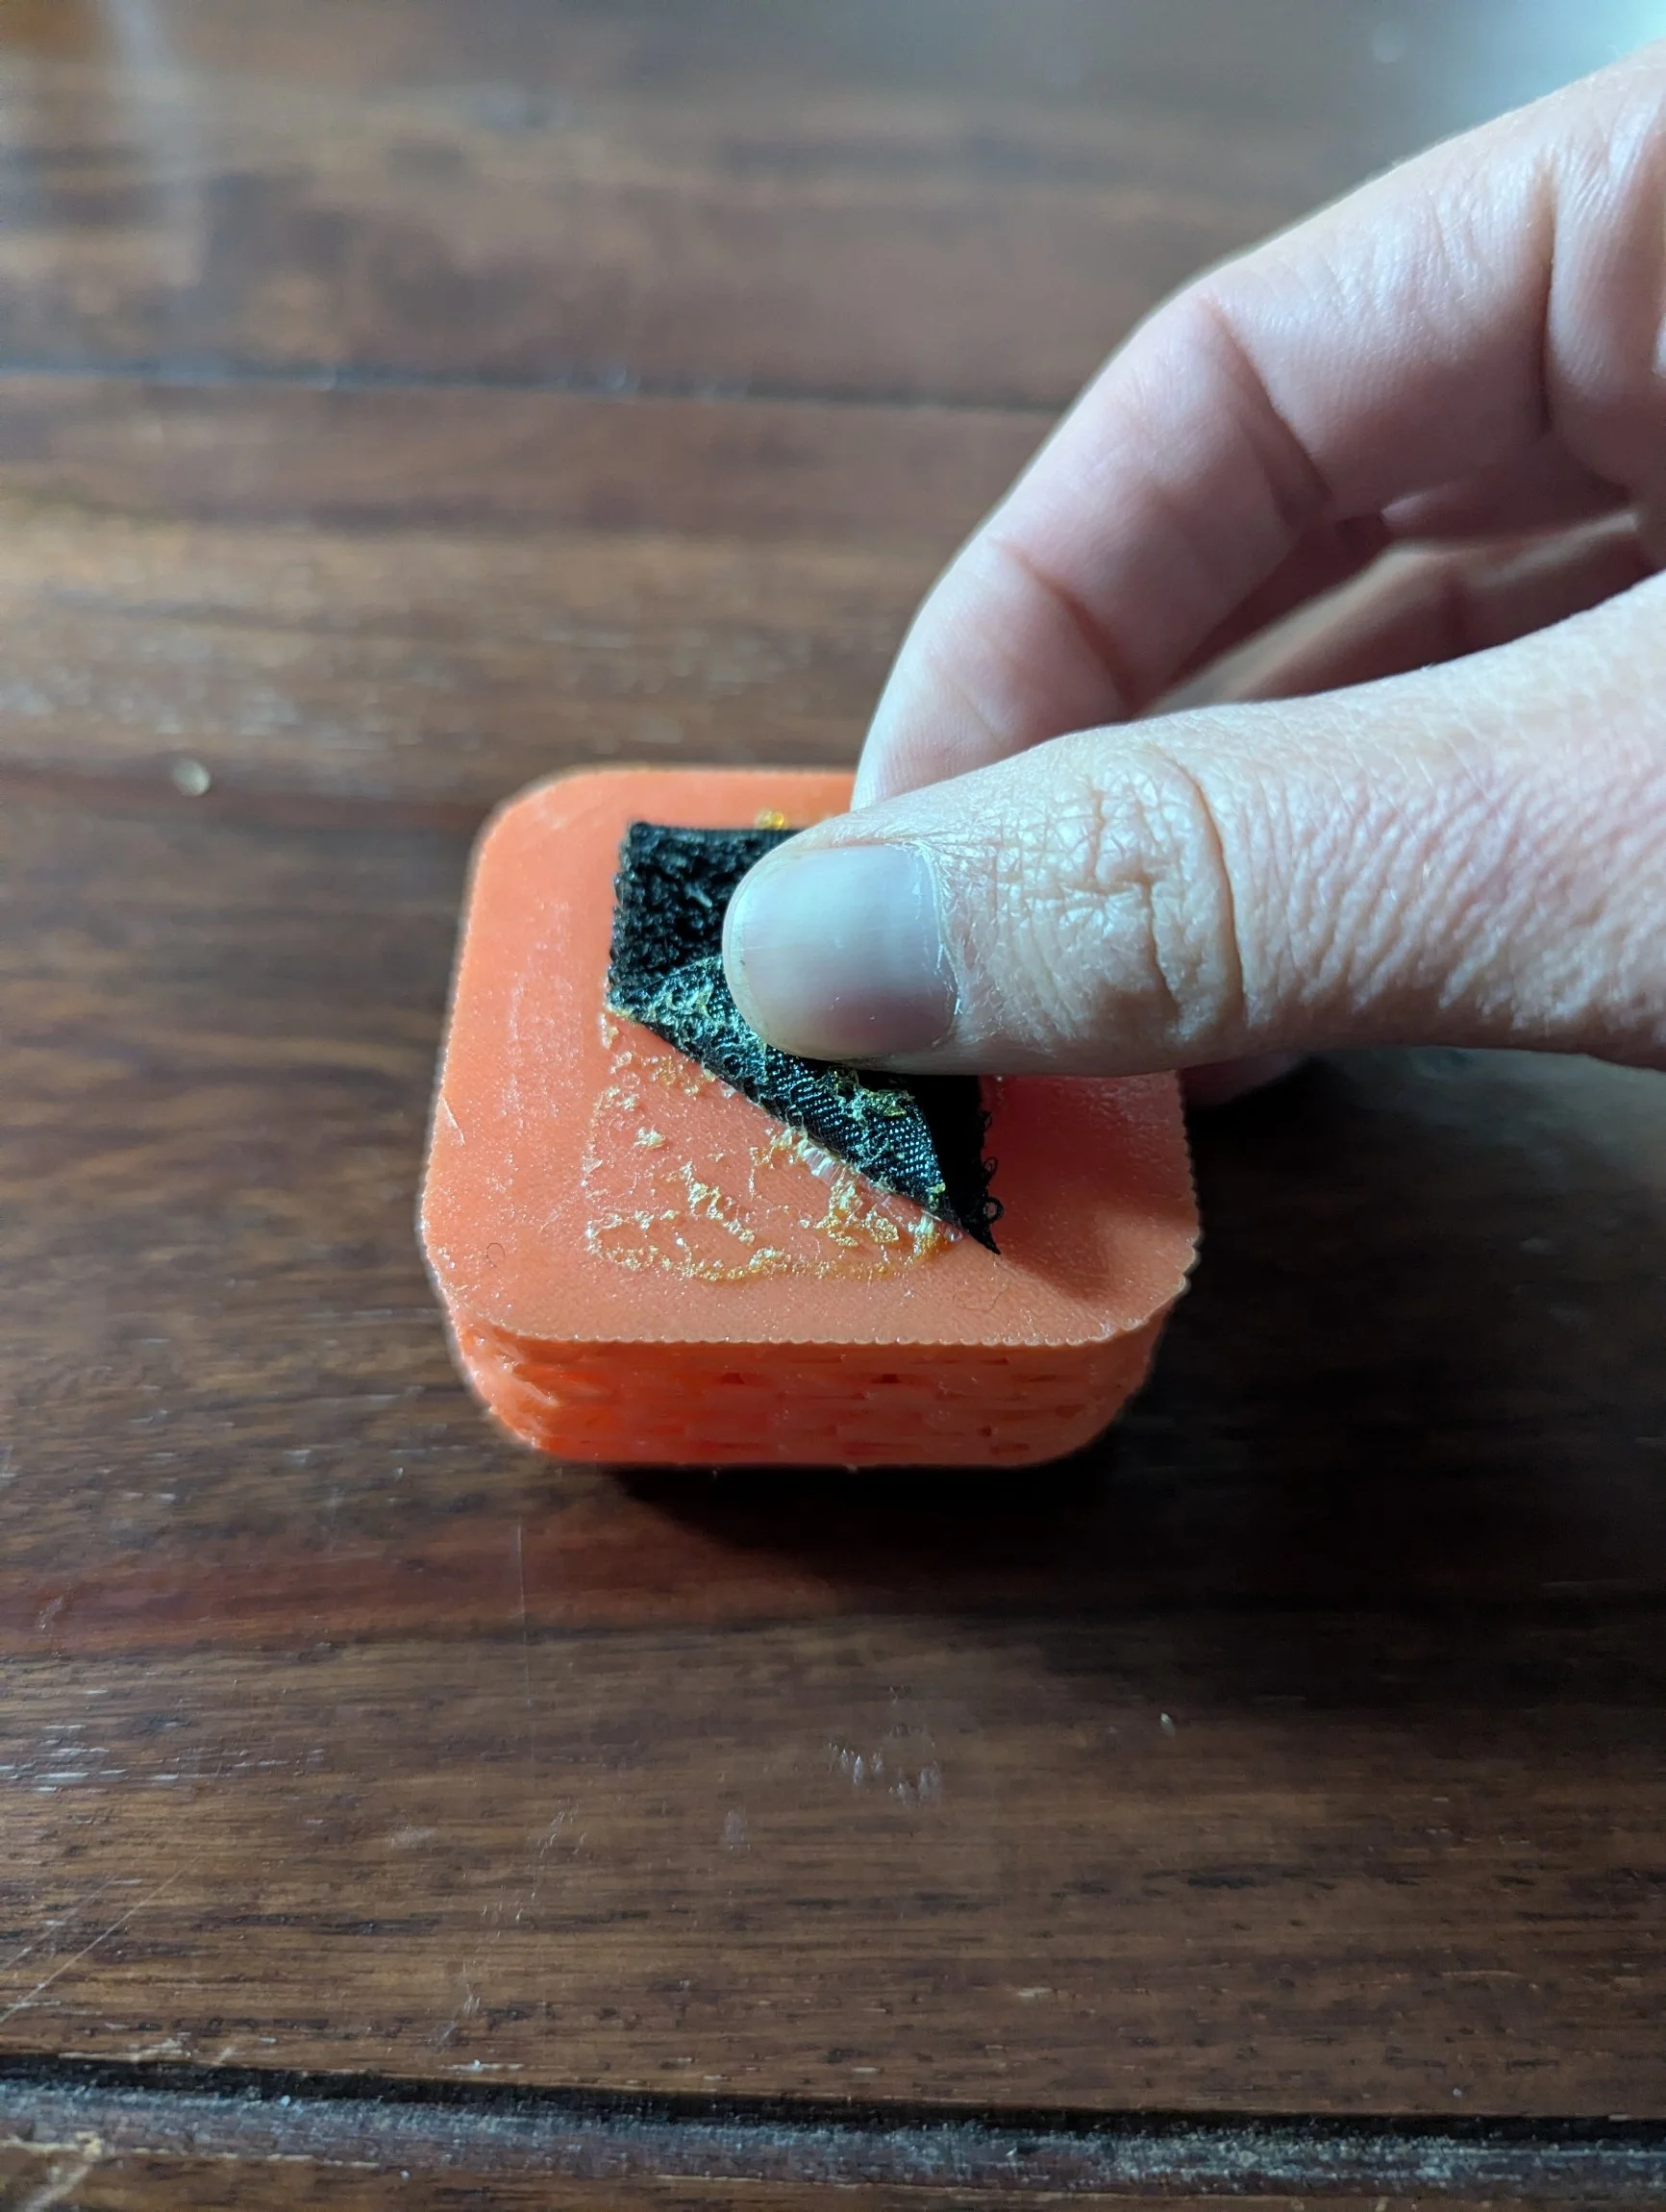
Fitting the moulded pad to the saddle was another stage in the development process. Whilst mechanical fastenings between the pads are sturdy and durable, repositioning the pads requires a considerable amount of extra effort. Velcro proved to be the most flexible solution, as it is already widely used on many treeless saddles to secure pad components. Printing into the TPU material is the simplest and most reliable means of connection. -
![]()
MOUNTING OPTIONS
GLUE
Not a lot of glues bond properly with TPU. Non of mine did.
-
![]()
MOUNTING OPTIONS
HEATGUN
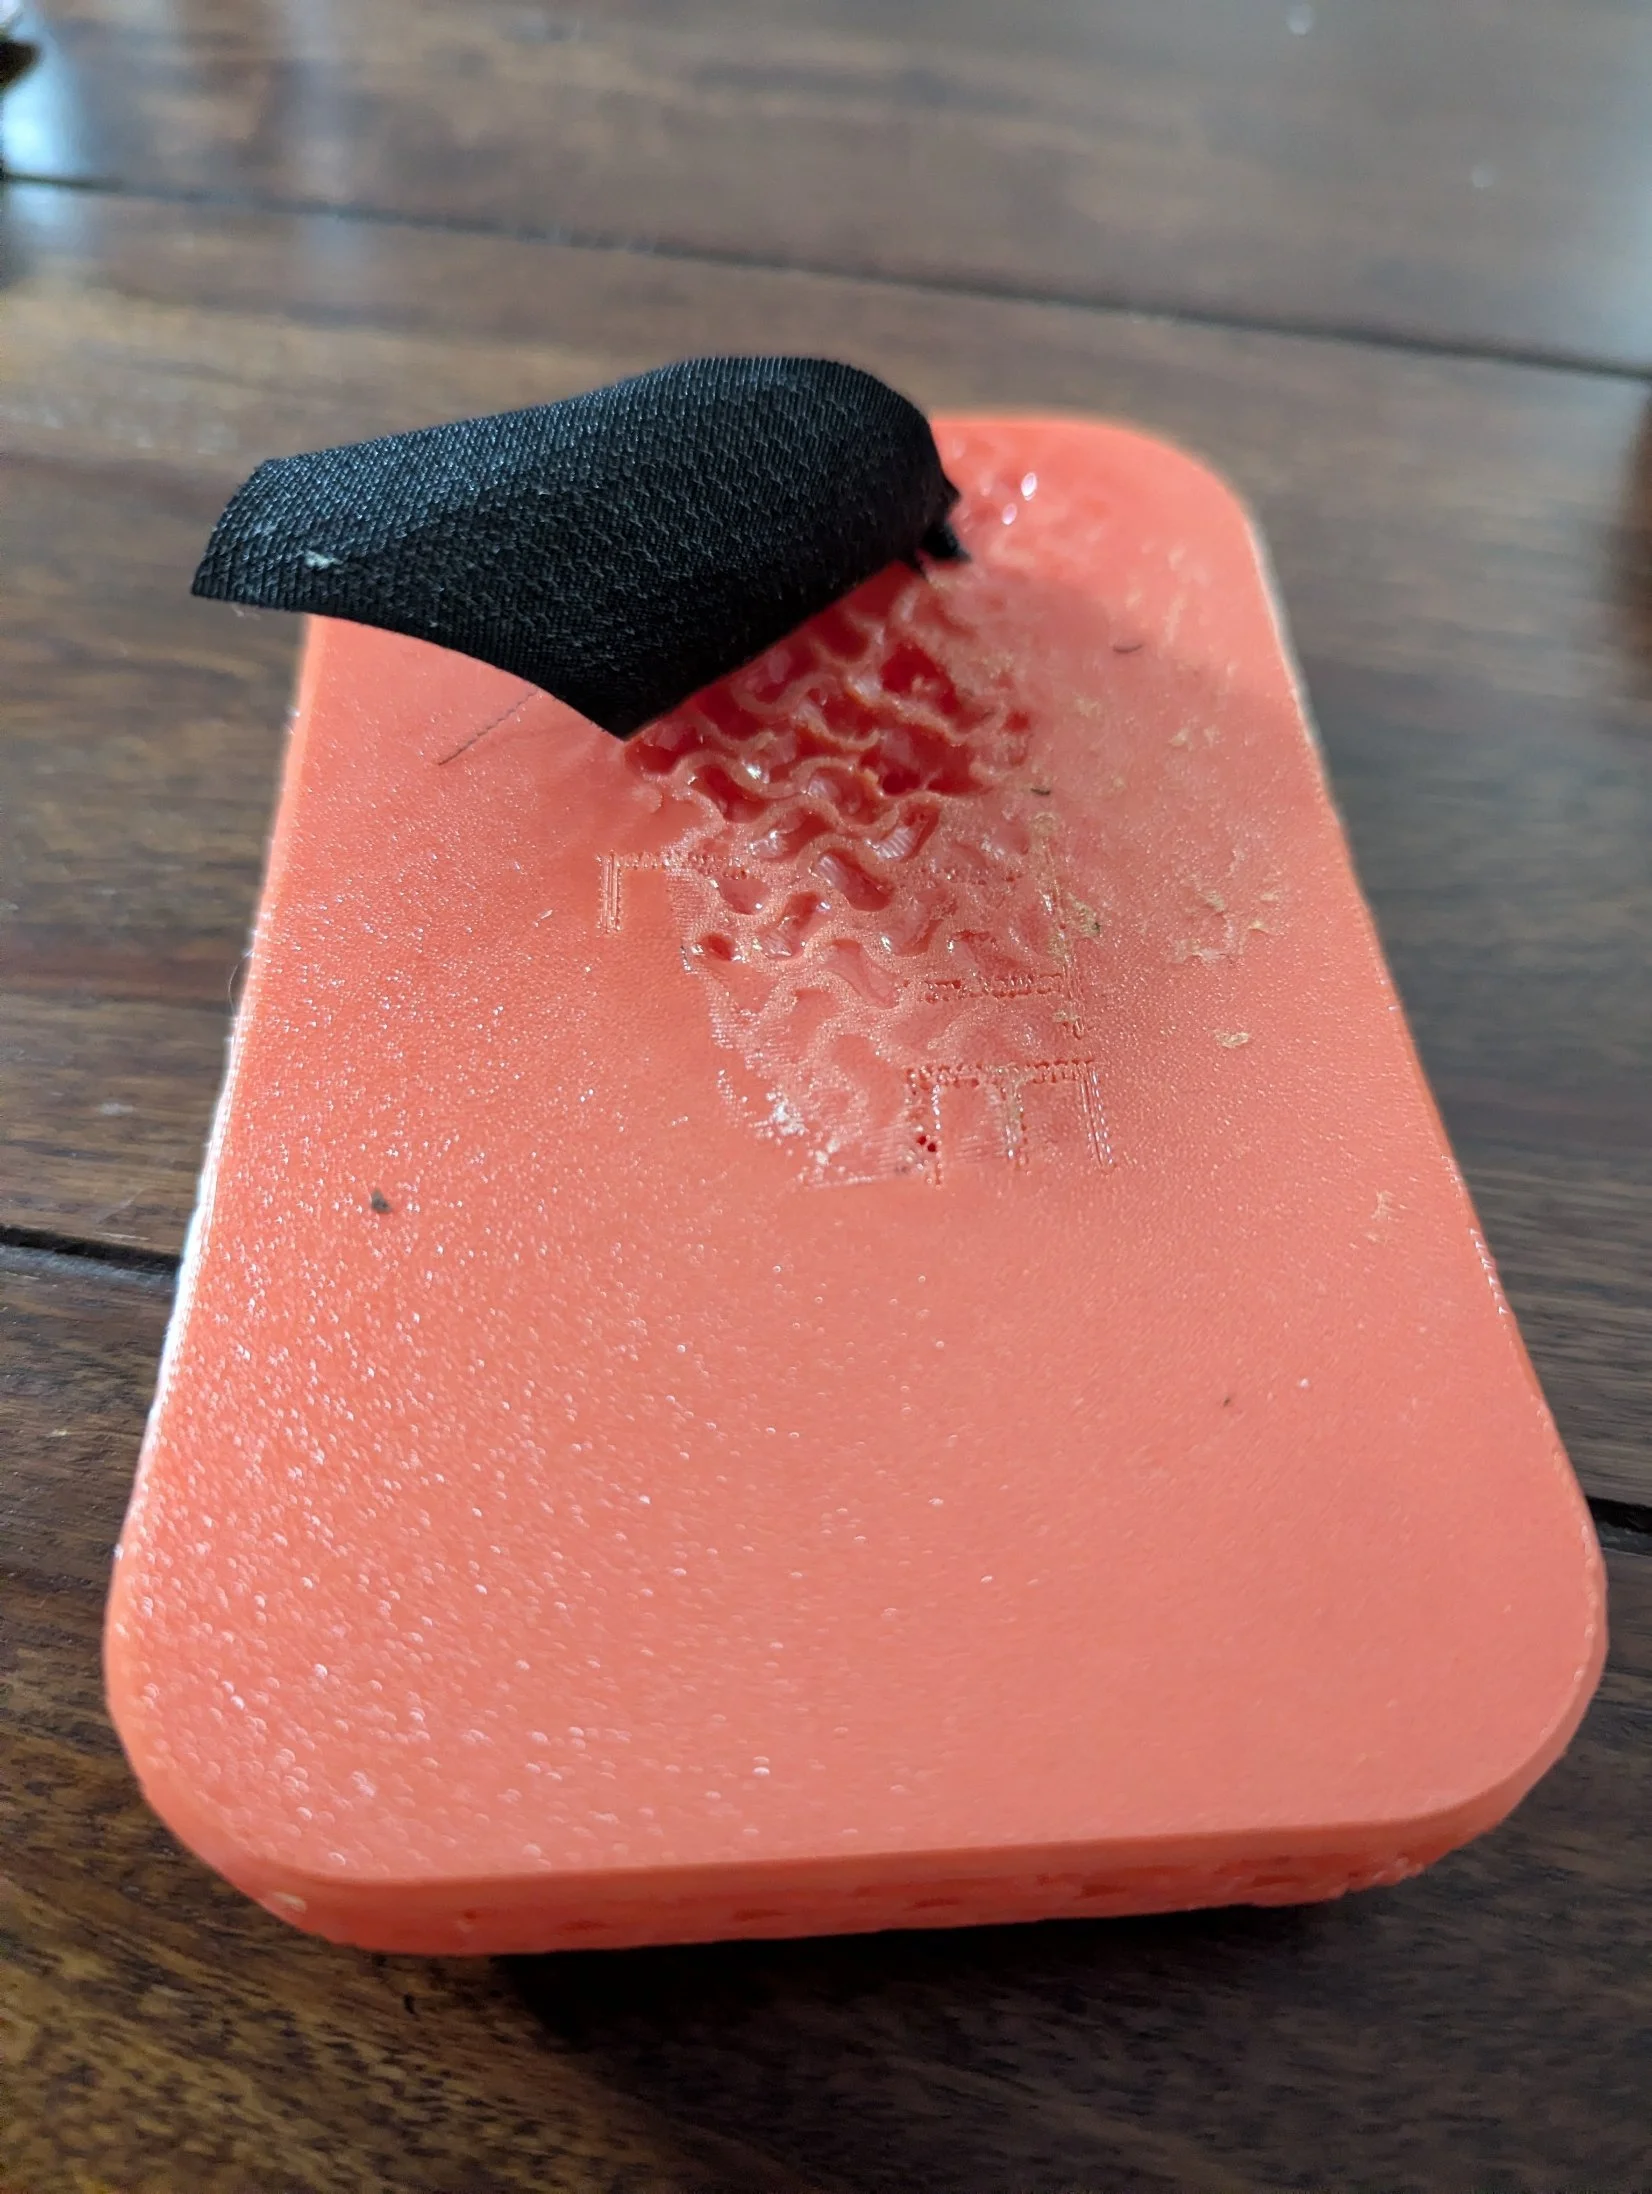
From a technical point of view, the molten Velcro and TPU materials would bond together. However, using a heat gun damages the 3D print.
-
![]()
MOUNTING OPTIONS
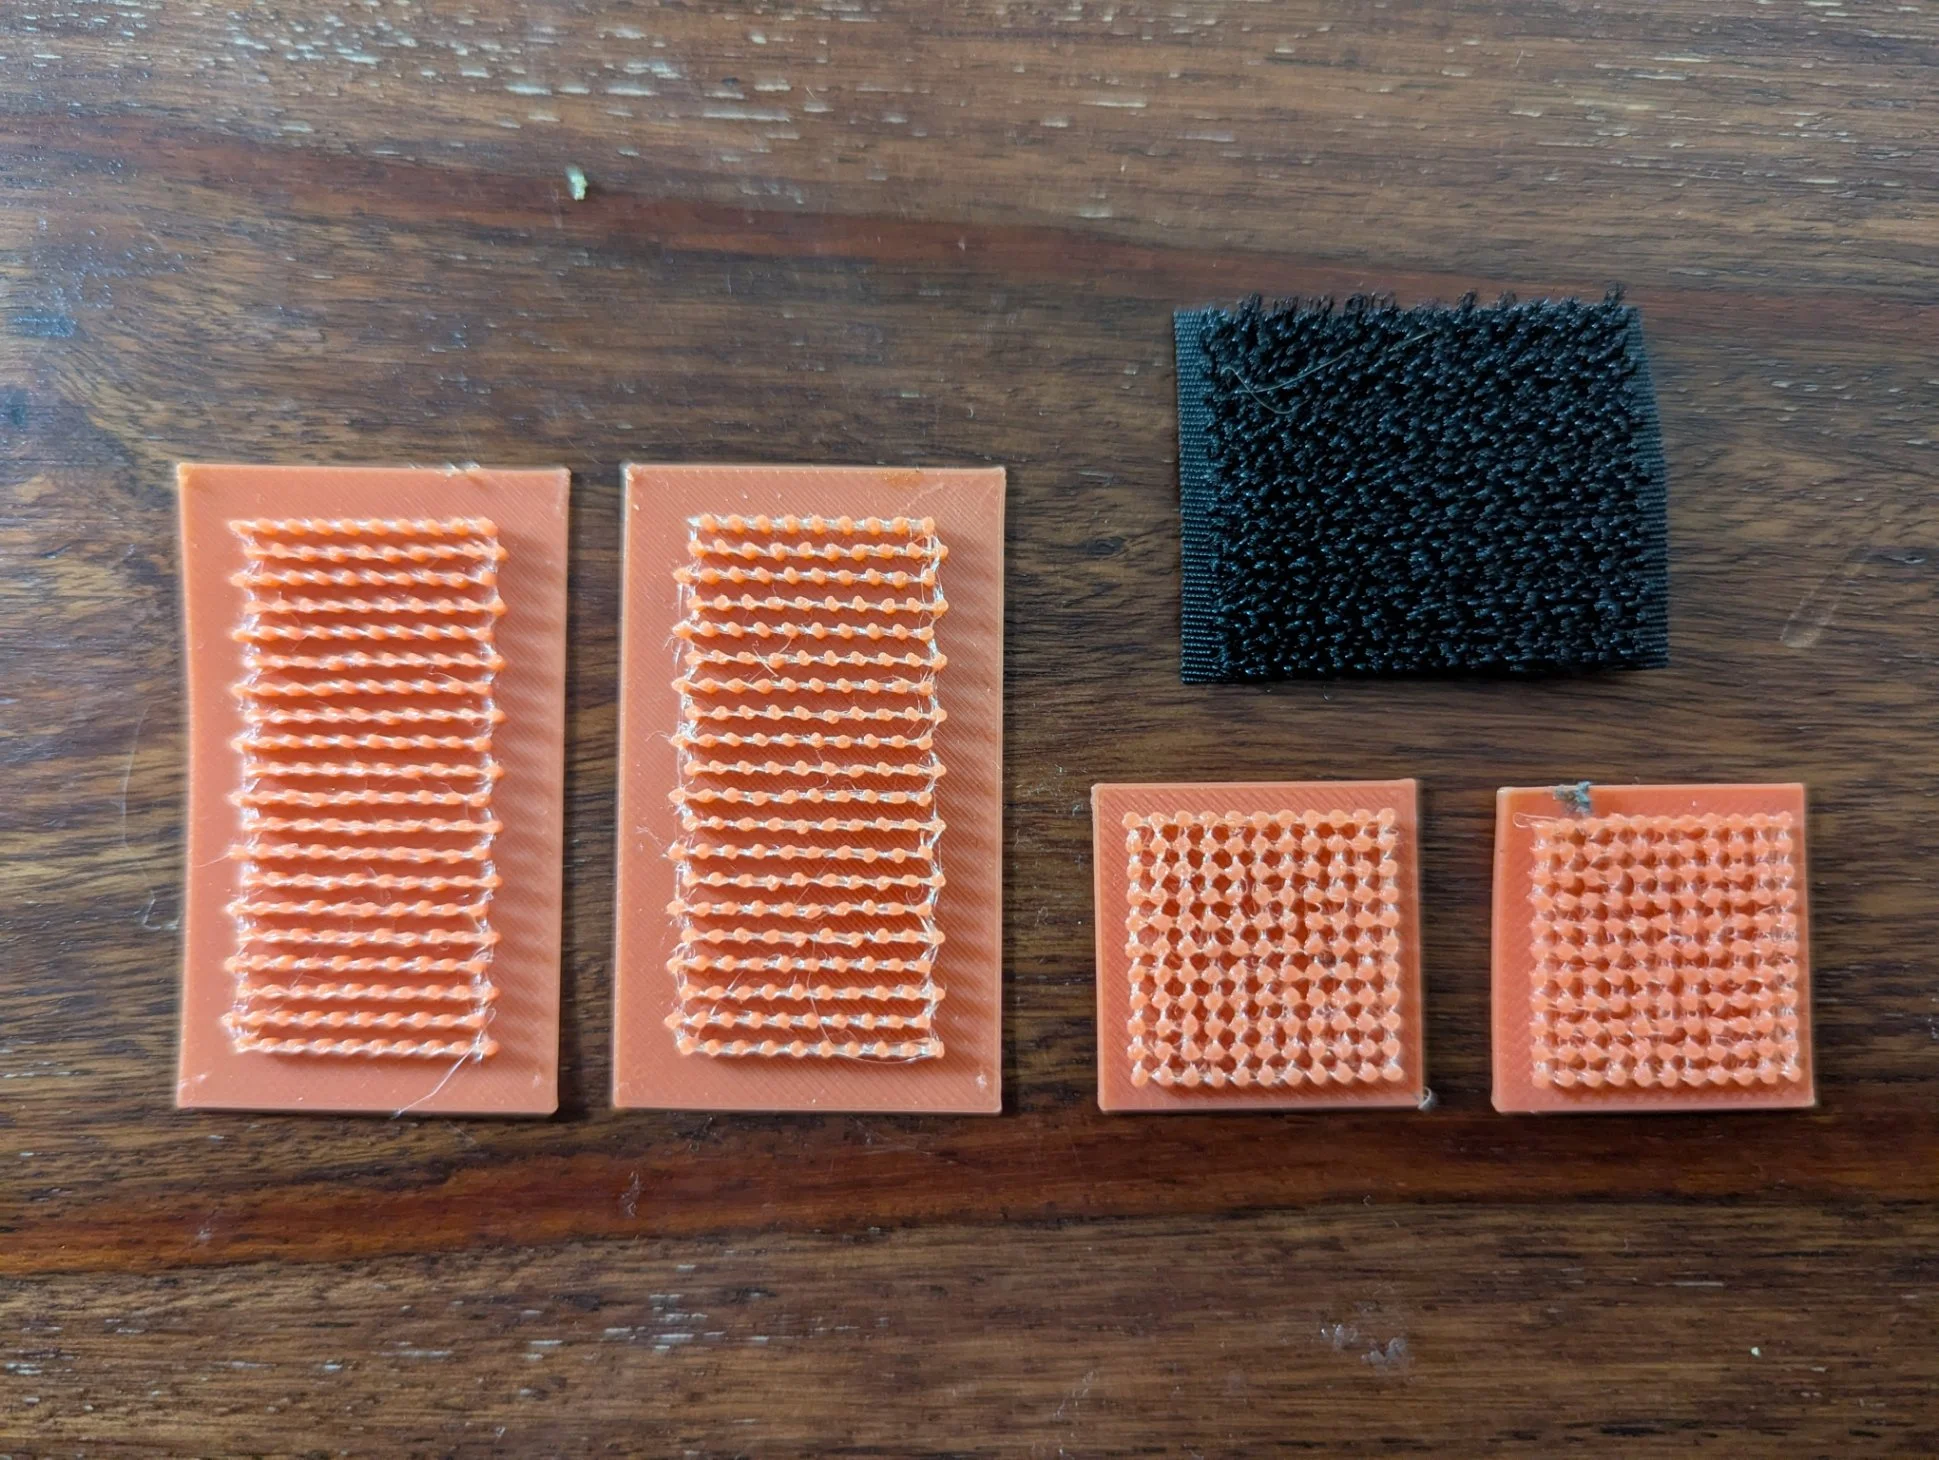
PRINTED VELCRO
Looking further into the specifics of velcro I found that it is possible to print structures that do kind of simular jobs. But the result didn´t bond well enough to usual velcro and felt.